Fun First Project with my 3D Printer
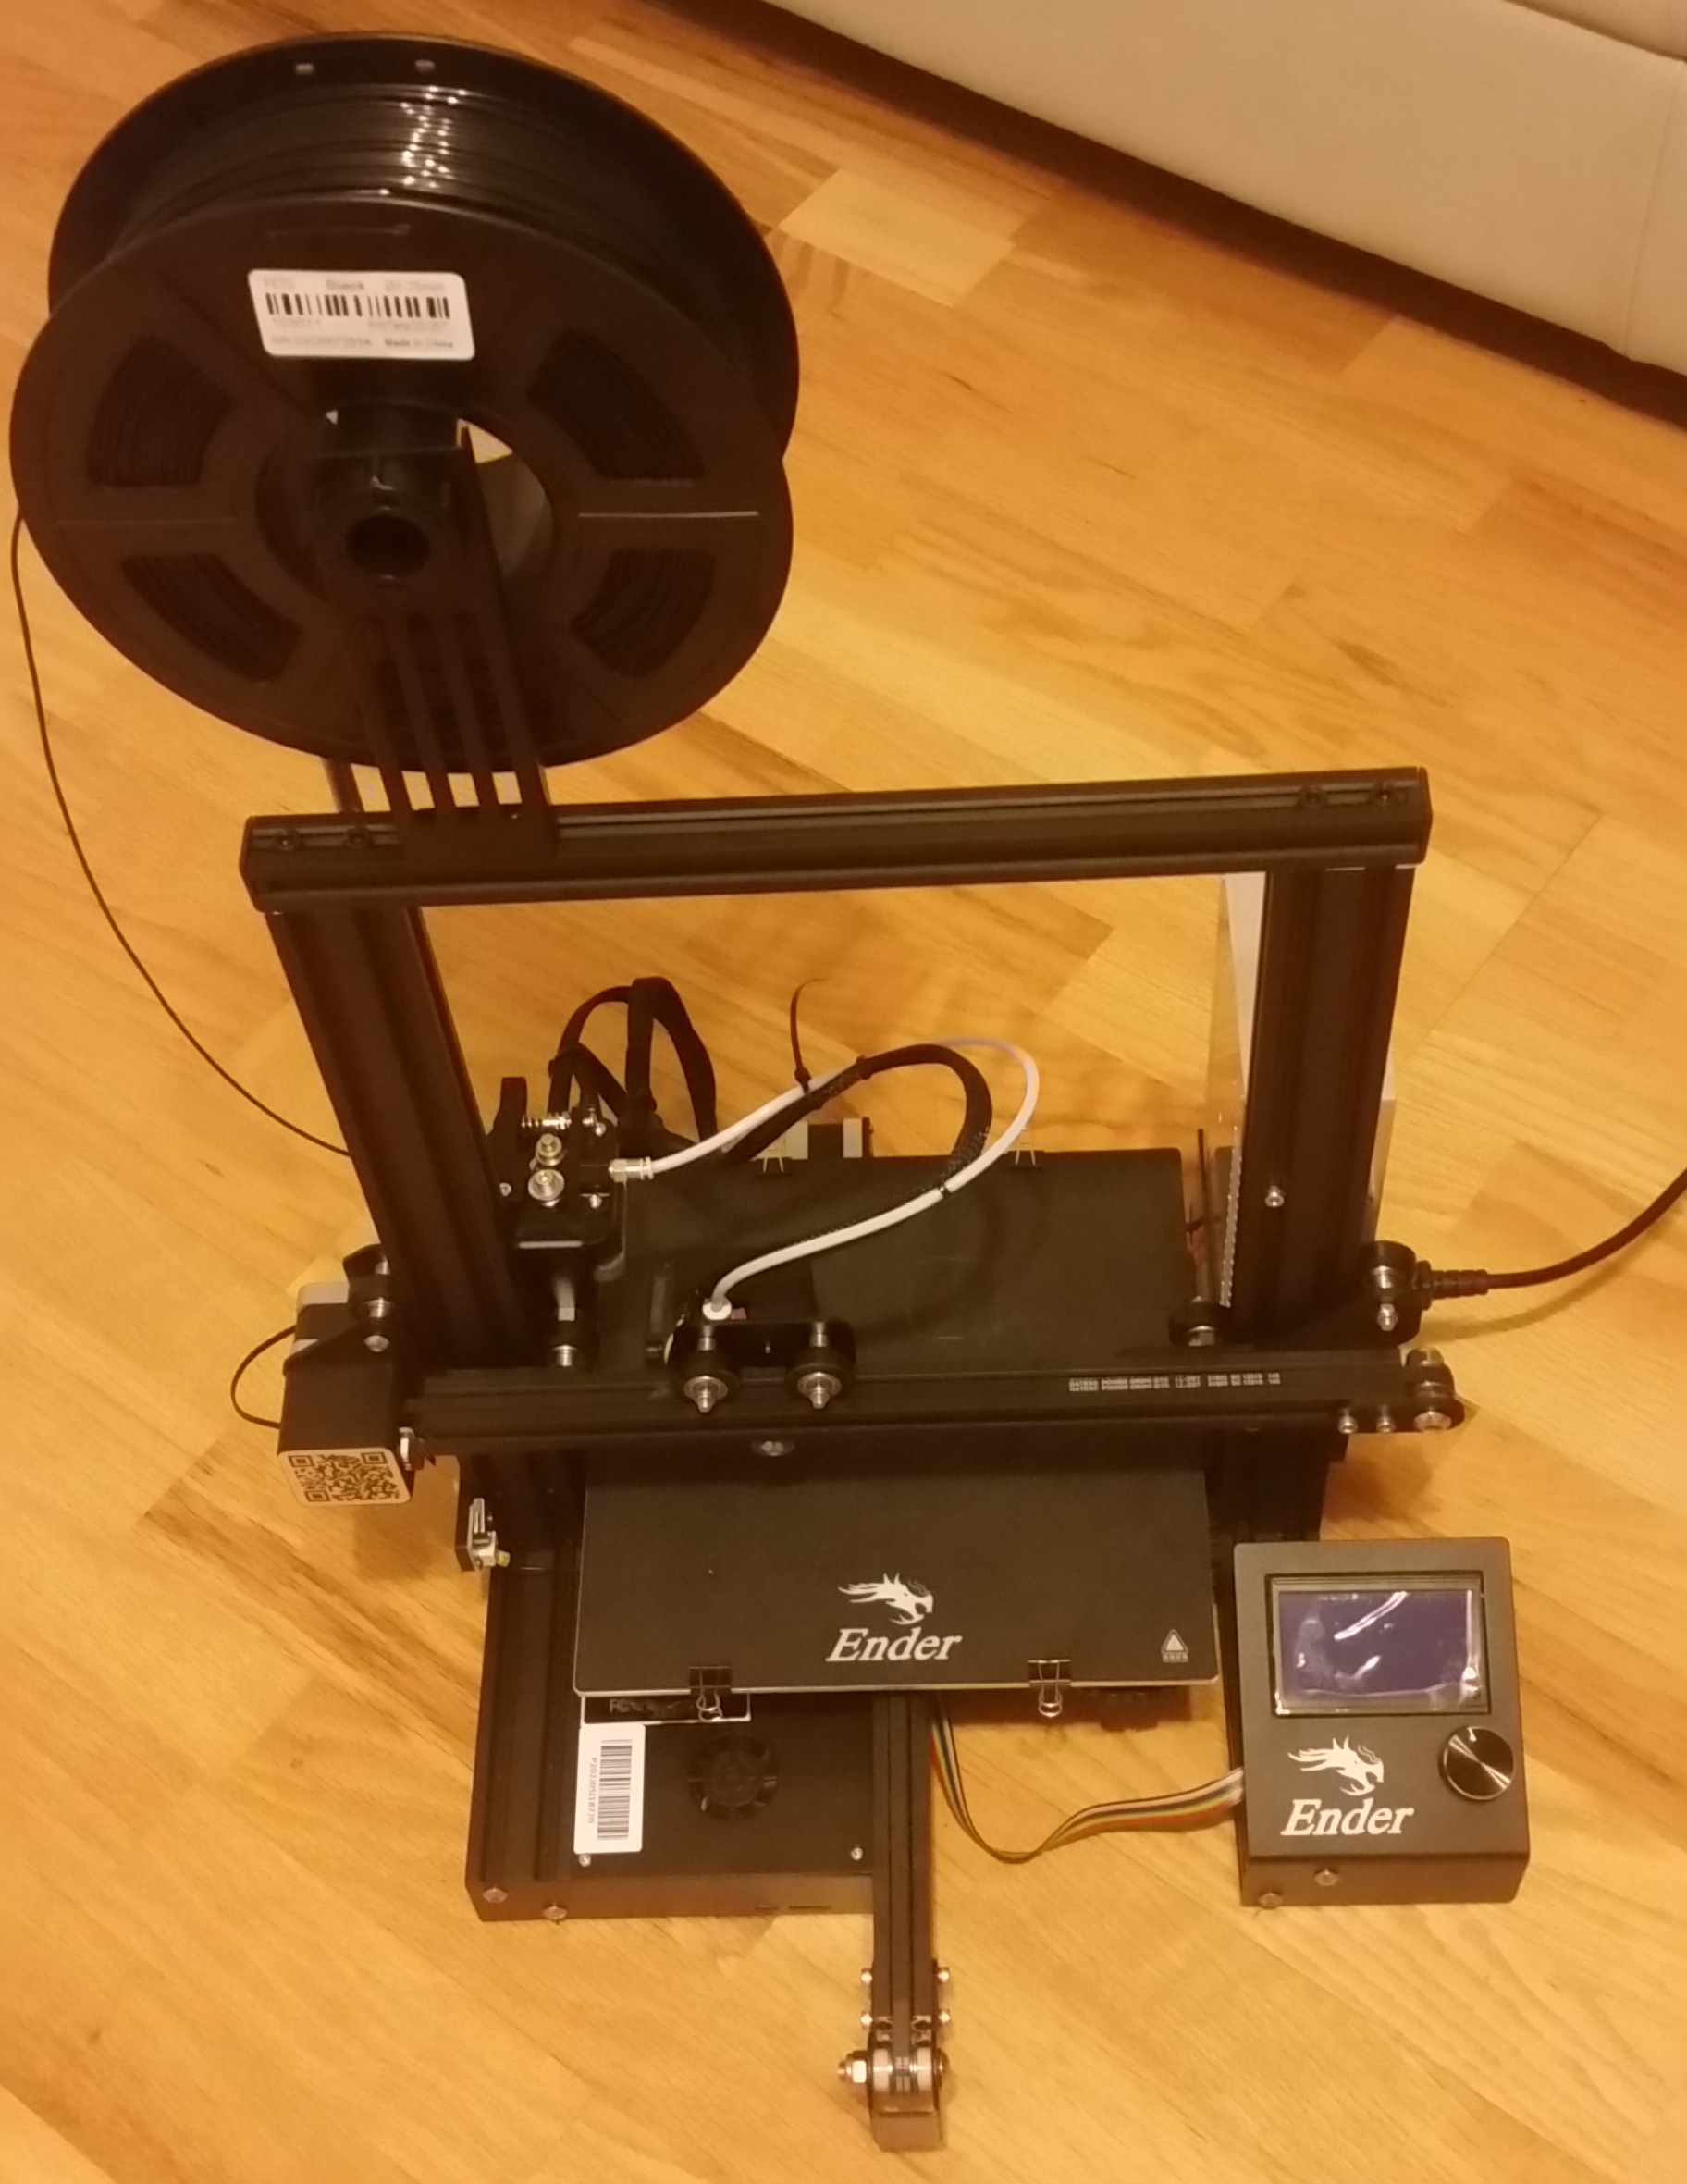
I have long been curious about 3D printers and my daughter has been playing with CAD programs for her middle school STEM Club. So I decided to do some research and buy the Creality Ender 3 3D Printer Fully Open Source with Resume Printing DIY FDM Printer 220x220x250mm off Amazon for $165. I also bought 2 1KG spools of PLA Filament so I could print things.
I am completely new to 3D printers, but i have put together my share of projects and I do engineering for my day job. I decided that 10pm Christmas Eve would be a good time to start assembling the printer, probably not the best decision. I open the box and there were a lot of pieces+tools and a single sheet with directions with only pictures. Two and a half hours later I had the printer assembled (I am pretty sure Santa's elves or someone experienced would have done it an hour)
First Project - Toothpaste Squeezer
You ever get near the end of a tube of toothpaste and struggle squeezing out the last few uses? This is an annoyance for members of my family, so I figured this could be a good first project. So here's what I did:
- I went on Thingiverse.com and they have all sorts of amazing things you can 3D print (including the CAD files). They had several projects to choose from when I searched for toothpaste, and I chose the Simple Toothpaste Squeezer. Since it was my first project, I wanted something that was solid and with only 1 part to print.
- I download the .slt file from the project.
- I needed to convert the .slt file to a .gcode to use with my printer. I downloaded a great piece of free software that it seems like many people use - Ultimaker Cura. In Cura, I was able to choose my printer (the Ember 3) to automatically set up the file with correct settings and then "Slice" the file to convert it to .gcode. It also shows you how much filament will be used and how long the print will take.
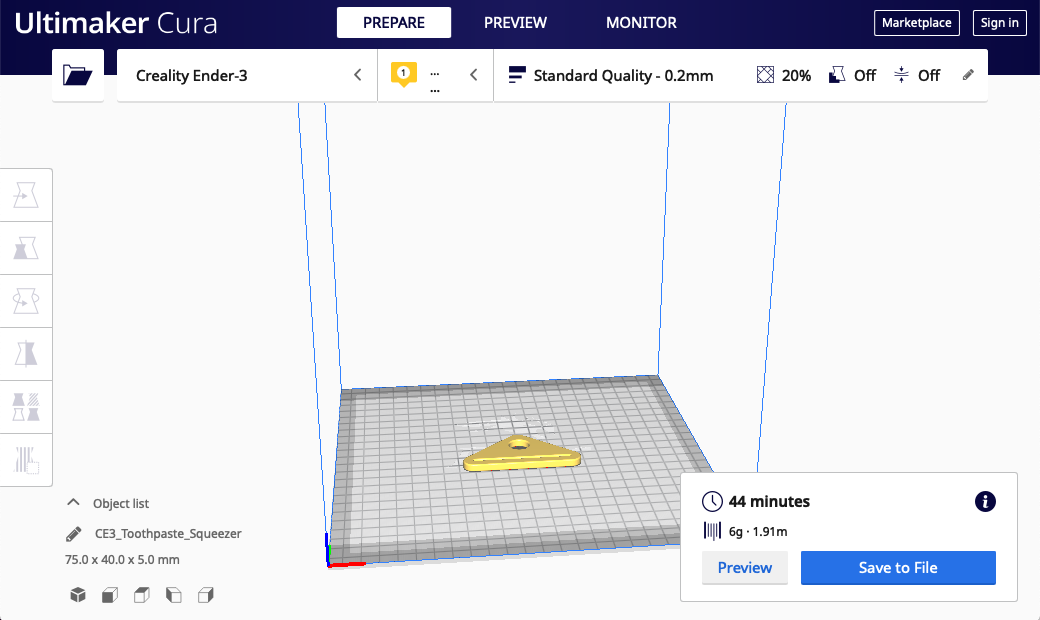
- I saved the converted .gcode file to the provided SD card, inserted the card into the printer, and started my print.
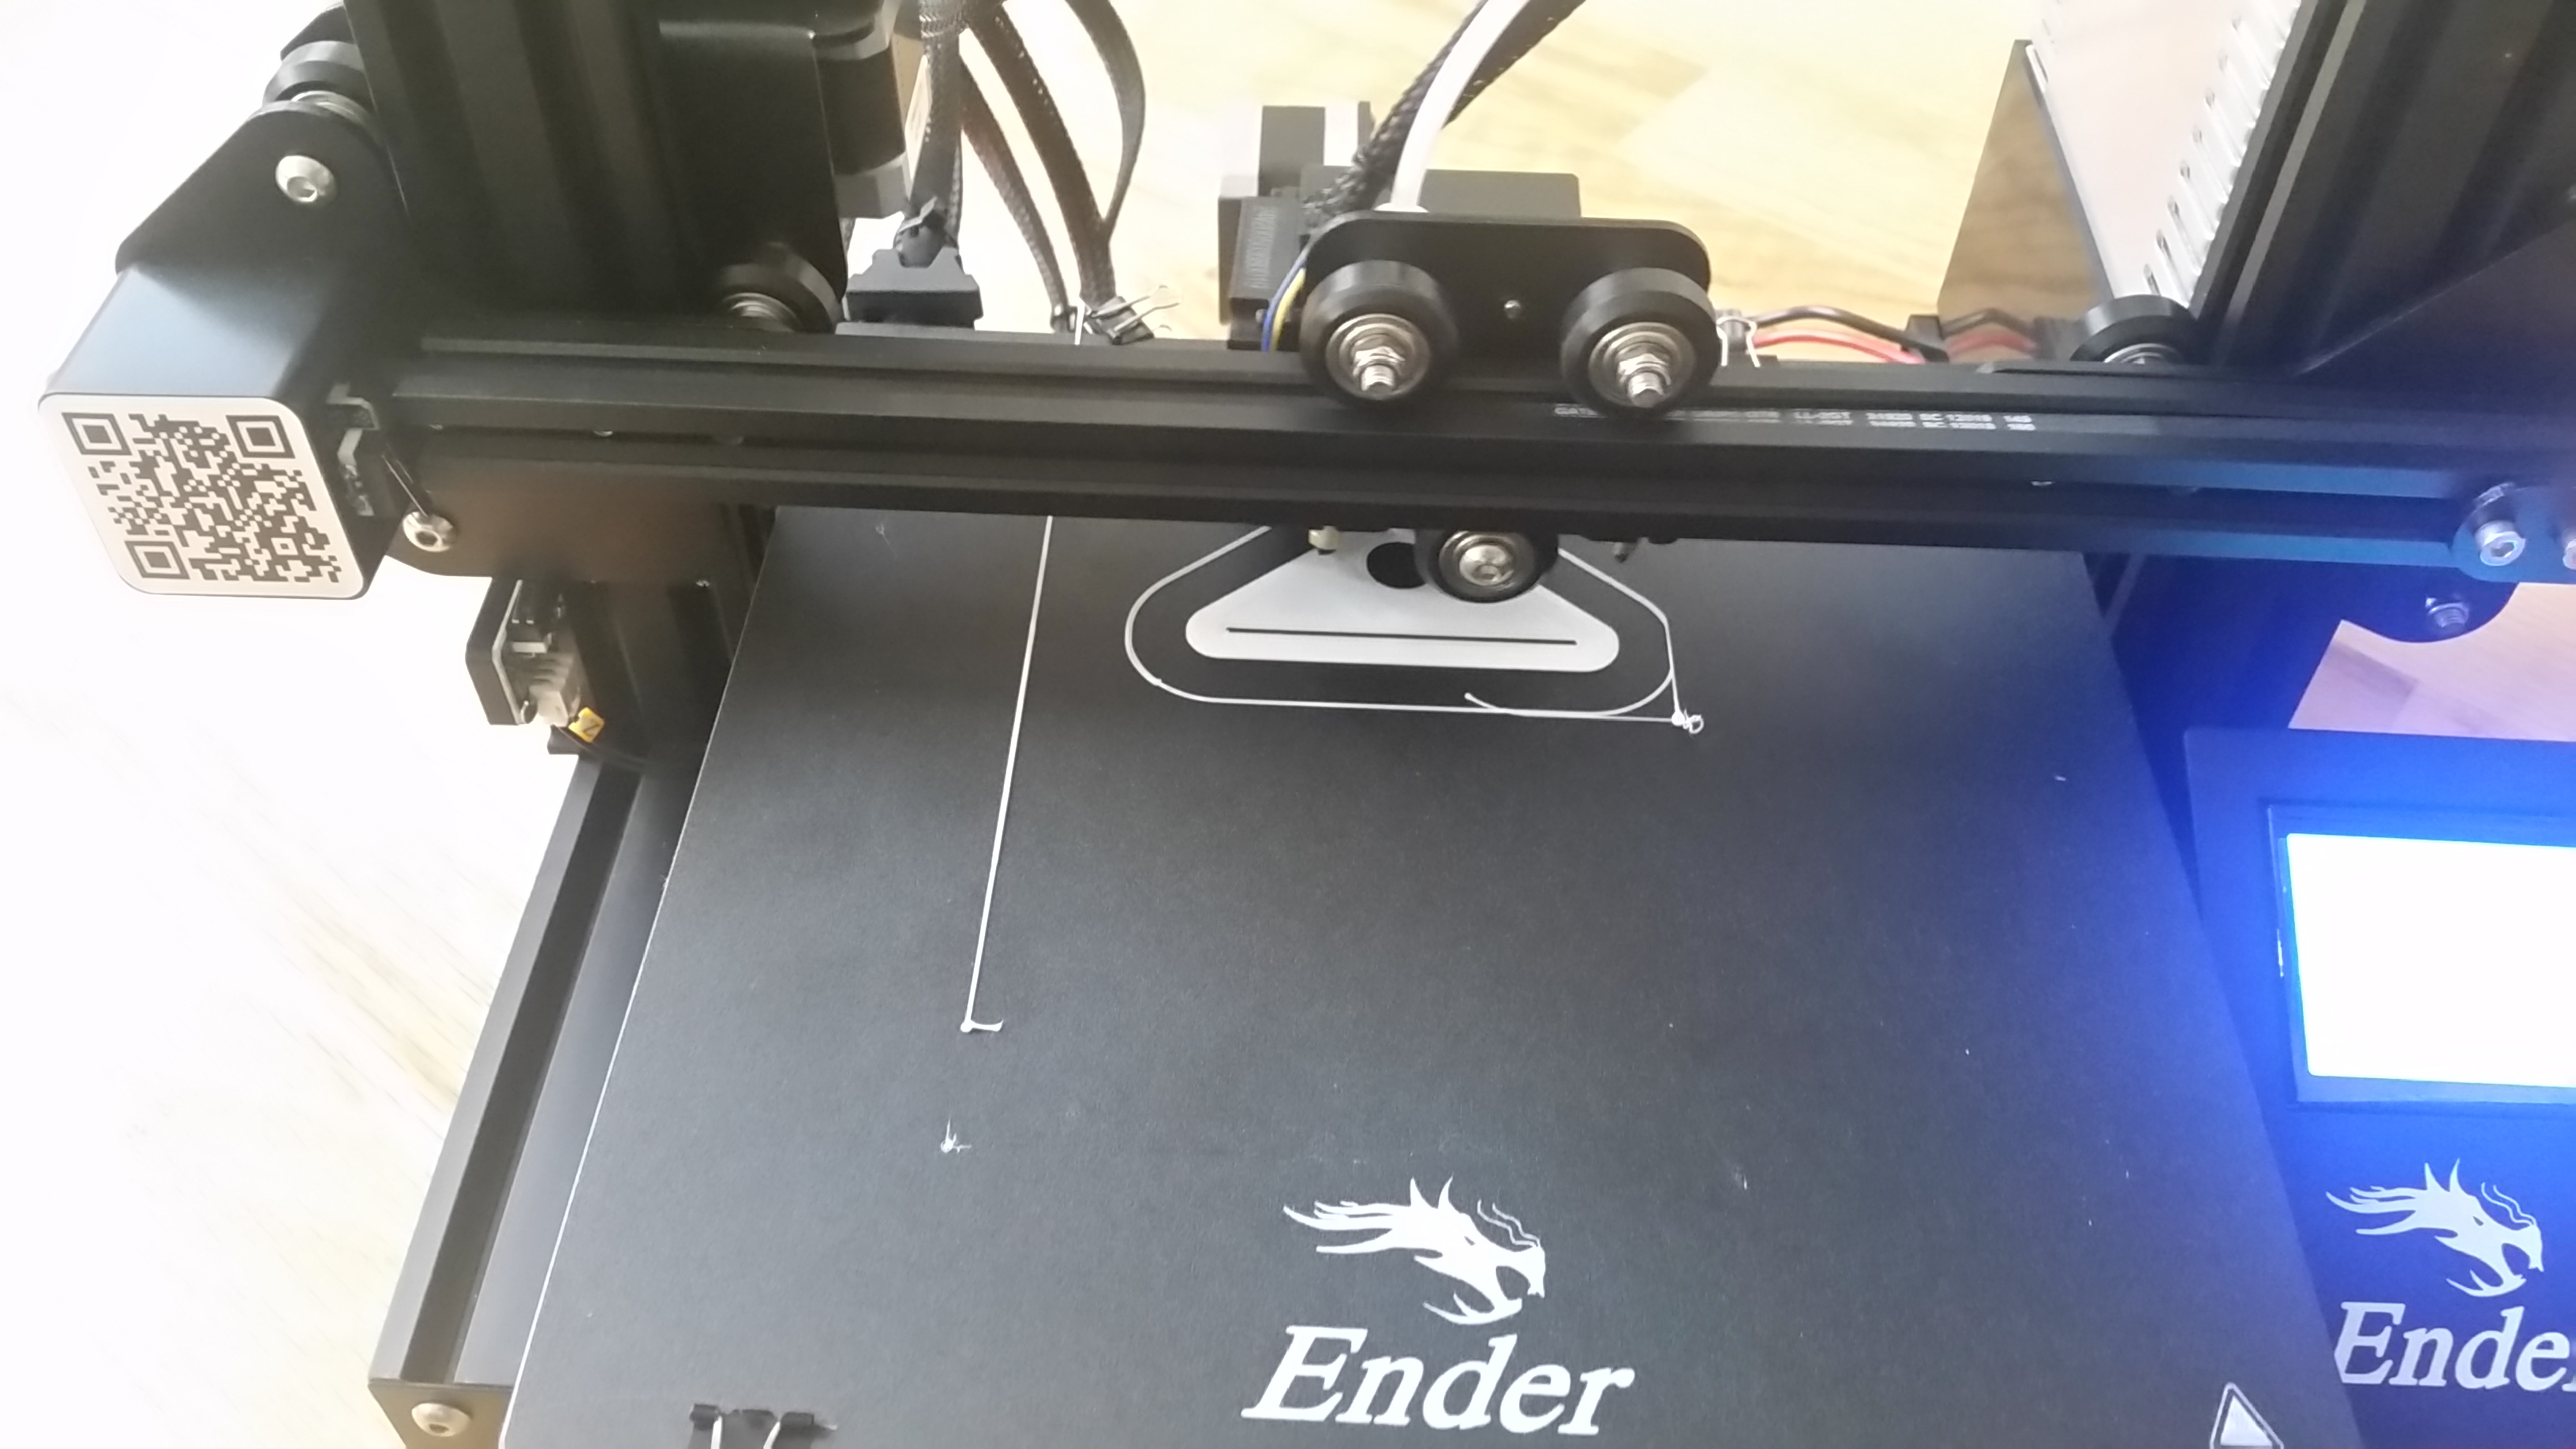 |
The printer begins drawing the outline of the project. It went around the edges and the holes many times. | |
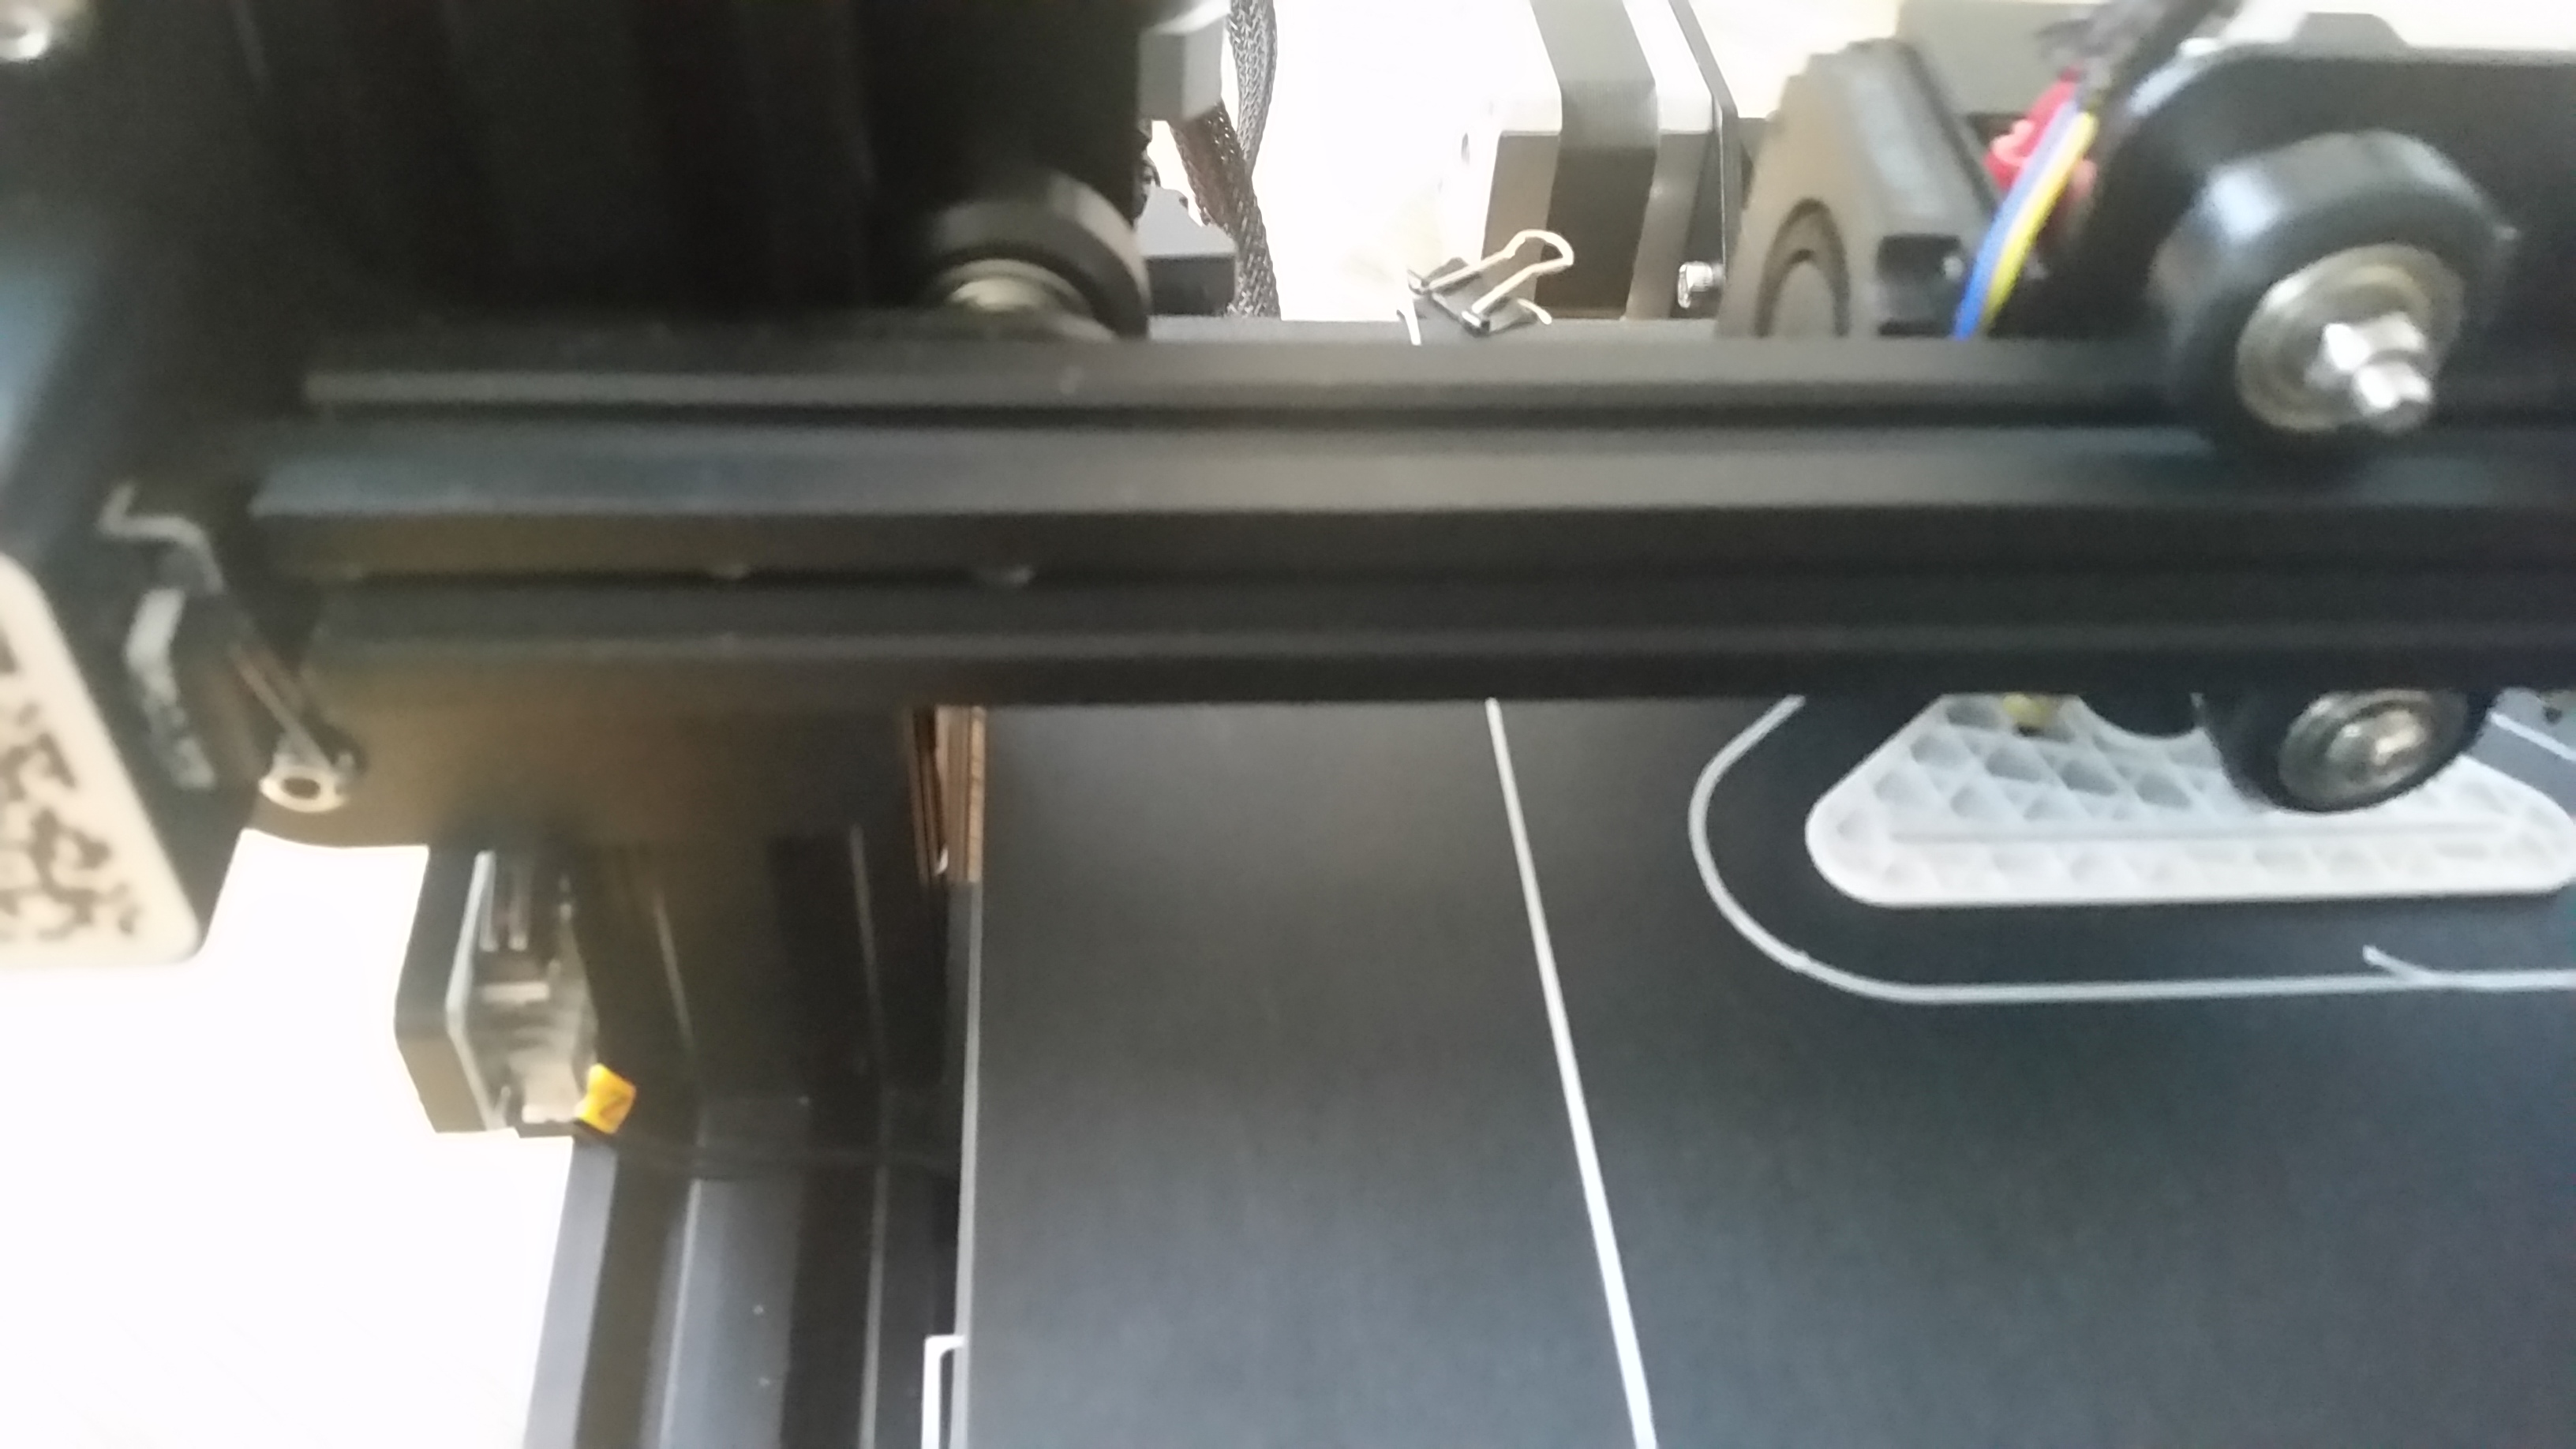 |
After the base layer was done, the printer began creating a honeycomb pattern as the Squeezer is not fully solid inside. I wasn't expecting this (being new to 3D printing) and thought it was worth sharing. | |
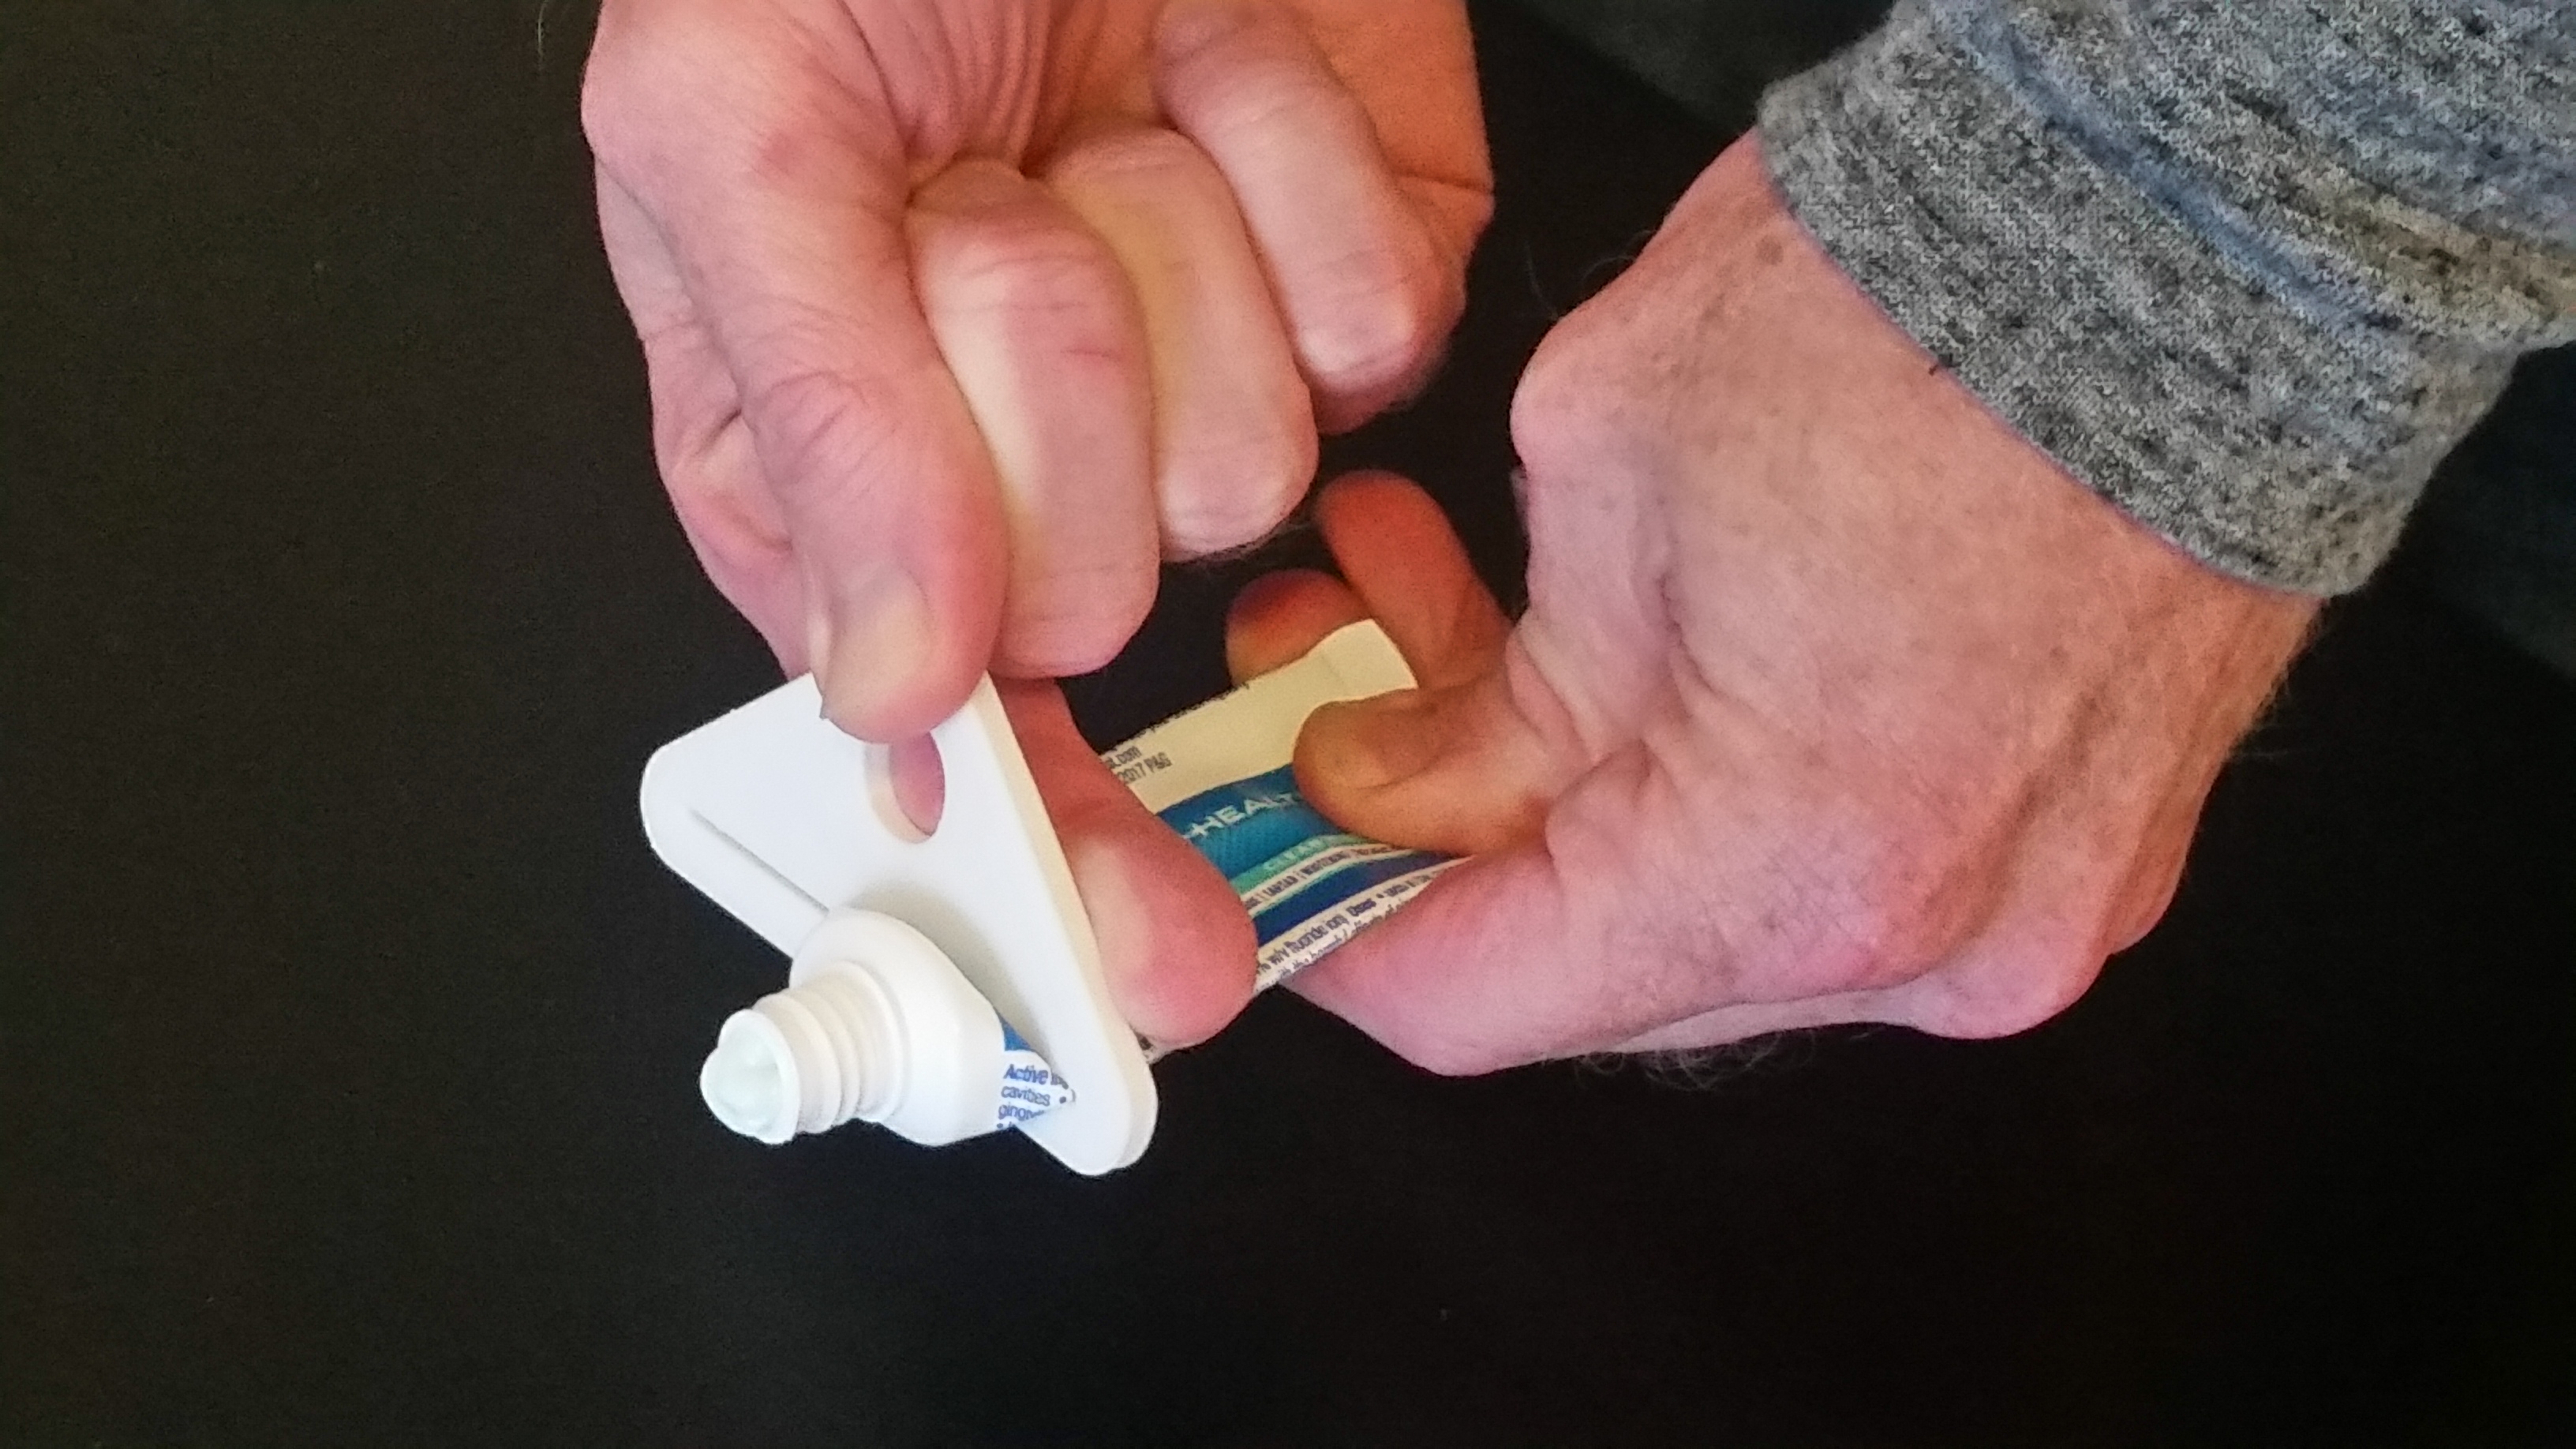
The printing took about 45 minutes. When it was done, I popped the squeezer off the bed and the plastic felt pretty solid. So here is a picture of me trying it out (there's no hand modeling in my future): |
||
My Very Early Learnings:
- I REALLY wish I had found this video before starting this adventure. It would have saved me so much time and answered so many of my questions. If you buy an Ember 3, watch this:
- There is a setting for the Ember 3 for voltage settings. I was a little disturbed when the machine would not power up until I switched it from 230V to 115V.
- Make sure everything is clean between prints. Make sure the extruder (where the filament comes out of) is cleaned out, especially if you are changing colors.
- Although it is a tedious pain, aligning the bed to the proper height before every print is really important (the video shows how to do this). I botched some subsequent print attempts when I didn't get the extruder close enough to the bed and the plastic moved all over the place.
- I love Thingiverse!!! The designs, comments, and remixes are just awesome. There is such nerdy awesomeness because people 3D print accessories to pimp out their 3D printers. I am going to add some things this week.
- My daughter made a few cool smaller designs with TinkerCAD. She saved her designs as .slt files, we converted them with Cura, and they were great when we printed them out.

